How To Use Perler Beads
How To Iron Perler Beads
Thanks for stopping by! Today I’m going to show you how to use Perler Beads. I received a set for my Christmas, and I have been obsessed with them ever since. I will show you how to iron Perler Beads and how to make Perler Beads art and designs. Let’s get going on how to make the perfect Perler Beat design!
How To Use Perler Beads Video
If you would like, you can watch me create some Perler Bead art below. Sometimes watching a video can be easier than reading an entire article. If you want to read more about Perler Bead designs, scroll down past the video!
How To Make Perler Bead Art
Perler Beads are a lot of fun, and they can make some of the coolest art designs. I definitely think Minecraft can be given a little credit for helping make pixels cool again. Retro gaming characters
seem to be in style right now and Perler Bead Art is able to pull off some of the coolest retro looking art there is. You can make them into refrigerator magnets, necklaces, key chains for your keys or backpack or just display them on a wall. I see people buying Perler Bead art to put in their child’s room and even using them to decorate birthday cakes.
Let’s take a look at how to use Perler Beads.
If you are already equipped with everything, scroll down past this section to see how to make Perler Bead art. I will give you step by step instructions, or you can simply watch the video above!
Finding Perler Beads and Perler Bead Peg Board
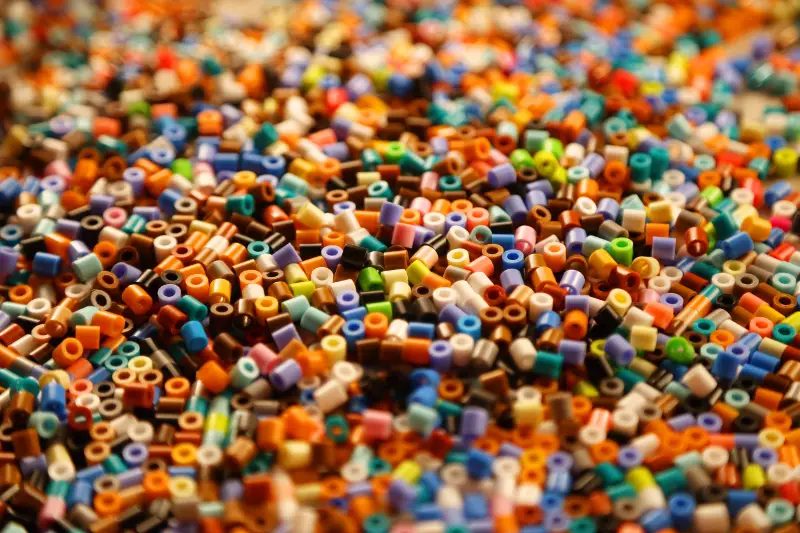
First off you need Perler Beads and you need what’s called Peg Board.
Keep in mind there are other companies that offer beads that are different sizes. They are often referred to as fuse beads, Perler is actually the name of the company that makes the most popular beads. All of these beads are called fuse beads, due to them being fused at the end of the process to make a design that sticks together.
The most popular size of Perler Beads are the 5mm bead and peg board. If your interested in a child around the 3-5 age range, Perler does make what’s called Perler Biggie Beads. Don’t forget that you need a different peg board if you go with the biggie sized beads.
Click Here To See Perler Biggie Beads.
There are even smaller beads you can get as well, these are made by Hama. Hama makes some mini beads which are pretty neat too. These beads are about half the size of the standard Perler Bead at 2.6mm. These look pretty neat, but are pretty difficult to use. The 5mm bead seems to be a perfect mix of looking good and being easy enough to manage.
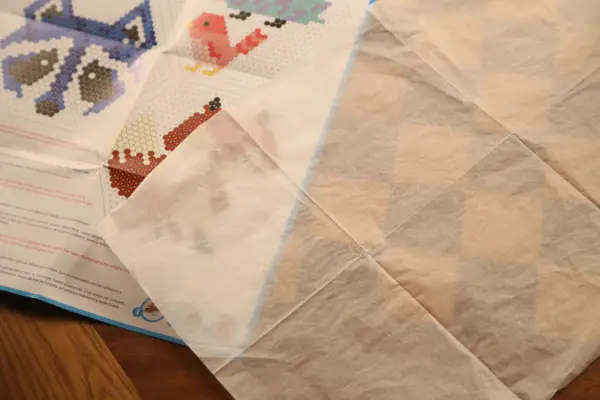
The best place to buy the Perler Beads and Peg Boards is Amazon. You can get very set up for about $20. This can get your 22,000 Perler Beads and a 4 pack of peg boards for individual creations, or clip them together for a larger creation. The only other thing you need to get started is ironing paper. This paper you use at the end to place on top of your Perler Bead design and fuse the beads together with the iron. This paper is essential to the process, it doesn’t stick to the plastic when it melts. You can’t iron the beads without the paper. The melted beads would stick to the iron.
Click Here For 22,000 Perler Beads For Under $13.
Click Here For A 4 Pack Of Peg Boards
Click Here For A Pack Of Ironing Paper for Under $4
Once you have these two items, you just need an idea in your head or you can find a template online. Templates are pretty easy to find, just do a quick google search and you can find
templates for just about any character from movies, shows or video games.
Some people take this extreme and put it in software that will actually graph out the photo to the size of their peg board. They then print it and put it under their peg board and simply just follow the template. This does make the actual building easier, but with all the software preparations you have to make it ends up taking even longer. Really, all you need is a tablet or phone where you can bring the photo of the template up. You can even print it on to a normal piece of paper and have it sitting next to you. It’s fairly easy to follow a template just by looking at it, it’s not really necessary to have it directly under your peg board.
What Else Will I Need To Make Perler Bead Art?
Honestly, nothing! If you have everything I listed above you don’t need anything else. Well, you do need an iron, but that’s something I’m assuming you have around the house anyway. If not, then it is necessary for you to purchase an iron. The heat from the iron fuses the beads together in the final step of the process. There are ways you can heat the Perler Beads without an iron, but it can get messy and difficult. The best thing to do is to purchase an iron, most department stores have cheap irons for under $10. As a matter of fact, I just found one one Amazon for under $13.
Click Here For A Cheap Iron That Works Perfectly For Under $13.
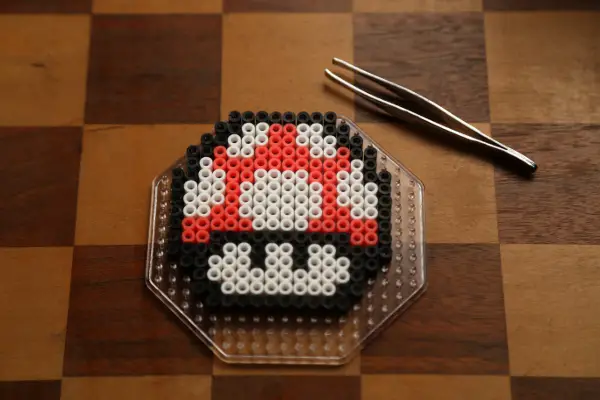
Another thing you might consider, but don’t need is a set of tweezers. You absolutley do not need tweezers, but trust me when I say, your gonna want them. They make your life easier and make this process much less frustration. We all need less frustration in our lives, right? Using your fingers is effective, but can be very frustrating when things are not going your way. These tweezers are only $3 for a 2 pack, and just makes sense.
Click Here For Perler Bead Tweezers Under $3!
Let’s talk about some other accessories that you may want when learning how to use Perler Beads.
Click any of the below to check them out!
Glow In The Dark Perler Beads
Perler Bead Organizer Tray With 20 Compartments
Click Here For Everything Perler Beads!
How To Use Perler Beads – How To Iron Perler Beads
So you have everything you need! Great! Let’s actually get started with making Perler Bead designs.
It’s honestly very straight forward here. But… A few warnings before we get going on this part.
- Kids, irons are very hot and you NEED adult supervision to do this. You can severely burn yourself with an iron, DO NOT DO THIS WITHOUT YOUR PARENTS.
- MAKE SURE you have ironing paper before ironing the beads. It will not work without it.
Now that we got that out of the way, let’s tackle how to use Perler Beads in numbered steps!
1.If you have a big bucket of mixed beads, I like to start by picking all my colors out first. I don’t count but just grab a bunch of each color I need. This makes the process a little more simple while your actually placing the beads. If you have an organizer and have separated your beads, your ready to go! This step is not necessary, but more of a best practice.
2. Get your template ready. Either place it under your peg board if you have a template that fits properly, or grab the one you found online. Now make sure to put it in a comfortable place. Your head and neck will be looking at it a lot. Try to put it in a place where you don’t have to turn your head much to go back and forth between board and design. This way your not putting as much strain on your neck. Try to make sure your sitting at a table or solid surface so you don’t bump or knock over your creation.
3. Now you simply place the beads on your board. Wither it’s using your template, looking at a design or just making something from scratch. You use your fingers or tweezers to grab the Perler Bbead and put them on the peg board according to your design.
How To Iron Perler Beads Perfectly Every Time
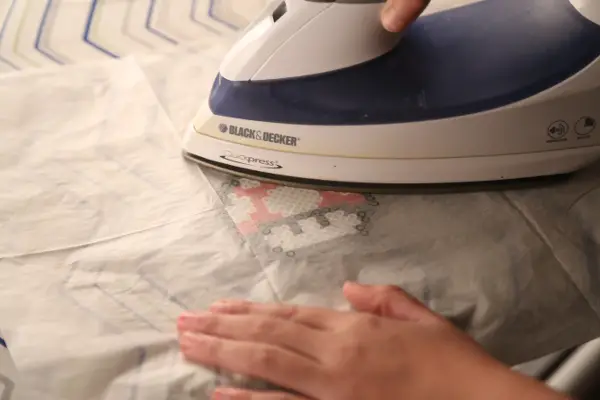
4. So, all your beads are on your peg board, it’s time to iron! Grab your ironing paper and place it on top of your Perler Bead design. Put your iron on medium heat and let it get
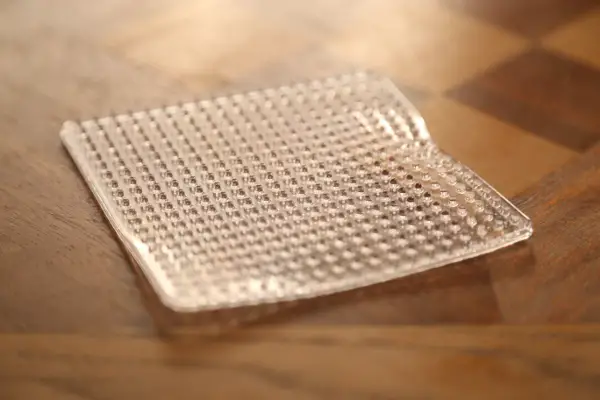
completely warm before trying to iron the Perler Beads. Once it’s hot, gently place it on the beads and move it around in a circular motion. When the beads start to melt they will stick to the ironing paper (this is what you want to happen). Make sure to move the iron around in a circular motion. It’s also important to make sure every part of the Perler Bead design is getting the heat from the iron evenly. Once you see that the beads holes are starting to close you can remove the iron. Do not leave it on too long. You can ruin your peg board and Perler Bead design if you leave it on too long. Trust me… We have done this. See the photo below.
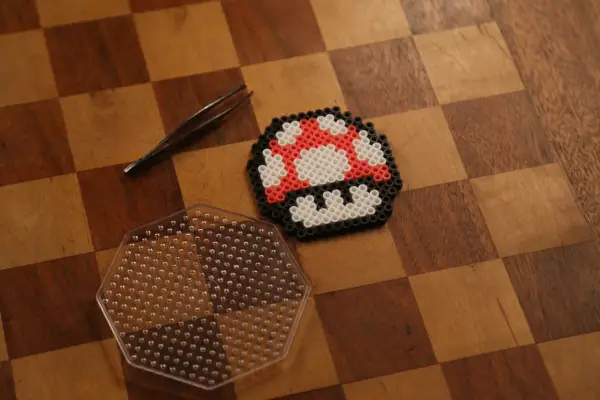
Once it looks like all the beads have melted a bit, let it cool off. Peel off the ironing paper and make sure that all the beads on your Perler Bead design have fused. If they are fused you are done! It’s ready to go. At this point, I like to place my design under a heavy book for a few hours to make sure it doesn’t bow or bend. This keeps it flat.
5. Your done! Rinse and repeat with your favorite characters or designs. The possibilities are absolutely endless with the creations you can make with Perler Beads. I have a Perler Bead store you can shop at if you just want to buy a cool key chain or magnet. Check it out! You might find something you like!!
How To Use Perler Beads Conclusion
Perler Beads are a lot of fun, and I think you will really enjoy the creations you will come up with!
For some great Perler Bead design ideas, check out their site at http://www.perler.com/projects-inspiration/
I hope you learned a lot about Perler Bead designs today. If you have any questions hit me up in the comments, Ill do my best to answer them!
How To Use Perler Beads







wow cool put more